Hello ICL in Windows
Let’s start with a very simple example, which visualizes a demo image only. The basic idea for this chapter is to help you to create a project in Microsoft Visual Studio, configure the project and run it after compiling. At the end of this chapter the example code will be explained.
|
|
Build example
In order to create a project, you have to apply the following steps:
inside of Visual Studio go to the menu selection File->New->Project…
choose the type Win32 Console Application and a name for the project
after clicking on the Next button in the Win32 Application Wizard mark the project as empty and you can finish this configuration
Now you need a source file, which should be compiled. By using a right click on the project in Solution Explorer select Add->New Item… to add a file to your project. Choose the type C++ File and a name of your choice. Then copy the example code into the source file.
The compiler has at least two different build modes: Release, Debug. In the debug mode the project will be created with some symbols will help to find bugs in your code. The release mode will try to generate binaries, which are optimized in speed and space. But before you can compile the example, Visual Studio needs to know the include directory of ICL and all other used libraries. Furthermore you need to specify the ICL libraries. You can handle the mentioned actions by working off the following steps:
select Properties after using a right click on the project
go to Configuration Properties->C/C++->General
add the include directory of ICL and all other used libraries to the selection Additional Include Directories
If you have set the environment variable ICL_DIR, you can use $(ICL_DIR)/include/icl-9.1 instead of adding the absolute path to the include files.
afterwards go to Configuration Properties->Linker->General
add the path to the ICL libraries to the property Additional Library Directories
If you have set the environment variable ICL_DIR, you can use $(ICL_DIR)/lib instead of adding the absolute path to the libraries.
at last go to Configuration Properties->Linker->Input
edit the property Additional Dependencies and list all ICL libraries
Note
The properties are only configured for the selected build mode.
Finally you can compile the example by pressing CONTROL+F5 and run by pressing F5. If you get an error about not finding some DLL files, you need to expand the environment variable PATH by adding the path to the missing files or add these DLL files to your executable’s directory.
Some examples from this tutorial may need command line arguments. You can start the Command Prompt after building a project and use it to run the applications. The more elegant way is to make use of the features provided by Visual Studio:
open the properties of the current project
go to Configuration Properties->Debugging
add the arguments to Command Arguments property
Now every time you start the project in Visual Studio, the given arguments will be used to run the application.
Code explanation
The example code contains actually two nested function calls: The inner create function and the outer show function. Actually, you will find these functions in the namespace icl::qt, however these are not needed here because the header ICLQt/Quick.h is included. This header is meant for rapid prototyping and therefore it will automatically use all ICL-namespaces and the std-namespace
qt::create creates a demo image that is specified by the given string value.
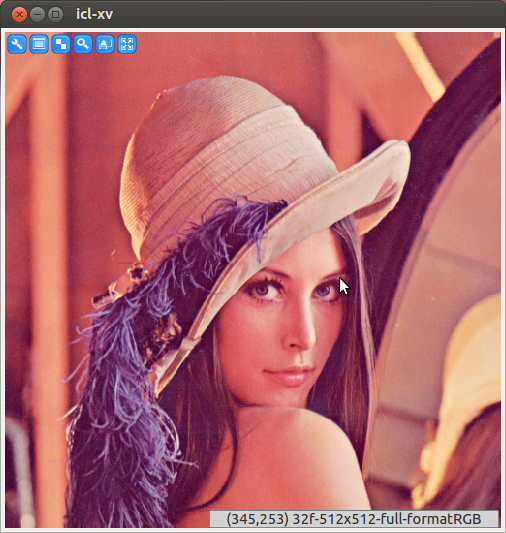
qt::show is a very special function. It saves the given image to a temporary file, and starts the application icl-xv in order to display this image. icl-xv can be set up to delete the visualized image-file. This helps to avoid having to delete all temporary files manually. Furthermore, by using the external application icl-xv, the current application does not have to implement GUI- and event handling itself. (Note: it is also possible to set up the show function to use a custom image-viewer application, see showSetup).